Showing posts with label Snacks. Show all posts

Monday, November 30, 2015

Dark Chocolate Cherry Almond Clusters - Costco Copy-Cat - Make your own and save some money!

Dark Chocolate Almond Cherry Clusters

We bought these at Costco and loved them. They are very easy to make yourself. I like portioning them out with a mini cookie scoop, they look professionally made that way.

I think these are best with tart dried cherries, otherwise known as pie cherries. I find lightly sweetened dried tart cherries at Costco. Costco usually has the roasted whole almonds too.

I love using Lakanto's new sugar-free dark chocolate, which was formulated by my amazing mom. It really is the best, plus it's healthy!

Enjoy the benefits of the antioxidants and protein packed in these little babies.


Almond Cherry Clusters Recipe:

16 ounces sugar-free dark chocolate (like a 72%)
8 to 10 ounces dry-roasted whole almonds (salted is o.k.)
8 to 10 ounces dried TART cherries


Method:

Melt and temper the chocolate.
Stir in the almonds and cherries.
Drop by Tablespoonfuls onto parchment or silicone lined cookie sheets.
Cool in the fridge, in front of a fan, or outside if its cool.
Store airtight once set up.

Makes 2 cookie sheetfuls.


Note: To save money, alter the ratio of almonds to the cherries, to cut costs.
ie. 16-oz chocolate, 12-oz almonds, 8-oz cherries, works well.


Enjoy!

Leila.

Sunday, November 8, 2015

Tiger Bites - A healthy raw coconut-apricot sugar-free candy

Tiger Bites - A Sugar-free Candy


I love these cute little confections.  My mom made a similar version of these but I didn't have her recipe, so I recreated this version of them. They are a perfect combination of sweet and tangy. The fresh citrus brightens the flavor and they have a delightful chewy texture. Best of all, they have no added sugar!

There are sorta-similar recipes out there using sweetened condensed milk and powdered sugar. They are flat tasting compared to these.

You can feel good about serving this great tasting, sugar-free and dairy-free version to your family!


TIGER BITES recipe:

1 1/2 c. (12 ounces) dried unsulphured organic California apricots
3 T. (1.5 ounces) Juice of 1/2 organic orange
Zest of 1/2 organic orange (0.50 ounces)
3 T. (1.5 ounces) fresh lime or lemon juice
1 T. (0.50 ounces) xylitol (or Lakanto zero-cal white granular sweetener)
1/4 t. BioSalt (recipe on this blog)
2 c. (4 ounces) dried unsweetened coconut chips
1 1/2 c. (3 ounces) unsweetened dried coconut, finely ground, for rolling


Method:

Snip the whole dried apricots into quarters and place in a bowl of a food processor.

Pour the orange juice, grated orange zest, lime or lemon juice, xylitol, and salt over the apricots.

Let the apricots soak while you prepare everything else, or about 5 minutes.

Place the finely ground coconut in a shallow bowl and set aside.

Place the BioSalt and half of the coconut chips into the food processor with the apricots.

Blend until the mixture until it starts to look chopped.

Add the rest of the coconut chips and process until it clumps into a mass.

Taste for sweetness and tartness. adjust if necessary.

Use a stainless steel 18/8-size ice cream/portion scoop to portion out half-ounce balls.

Drop the balls in the bowl of finely ground coconut and roll to completely cover the confection.

Seal air-tight and store in the refrigerator.


Note: I drop 4 or so balls at a time into the bowl of finely ground coconut, and then shake and roll  them about until well coated.


Enjoy the sweetness of life!


Leila.

Herb Flax Crackers - The 7th in a series of excellent Raw Food recipes

Herb Flax Crackers


I am posting a series of RAW FOOD RECIPES created by my mother Nancy Glazier and her good friend Irene Hauver. 

Together, as raw food pioneers, they complied an amazing collection of unique recipes that they used in teaching a series of raw-food-living un-cooking classes. We have a selection of delicious raw food recipes big enough to fill an entire cookbook. I know, cool, right?

These recipes are amazingly tasty! This is doing raw food right. Most raw food recipes are seriously lacking in taste and texture - well, not this collection. These beautiful ladies don't do anything half way! We are excited for you to try them.


Herb Flax Crackers are very handy to have in your pantry for when you need a speedy lunch or get the munchies. They have a delightful crunch and are SO healthy for you! Spread with Sunnie Sour Cream (recipe on this blog), Sunny Hummus (recipe on this blog), or other spread of choice.


HERB FLAX CRACKERS Recipe:

Ingredients:

4 cups Flax seeds, soaked in 8 cups water 8 hours (do not drain)
1/2 Onion, quartered
5 cloves Garlic
2 cups Chopped fresh herbs (chives, dill, sage, basil, oregano, parsley, kale, spinach, etc.)
2 t. Sea salt
1/4 cup Fresh lemon juice


Equipment:

Blender (like a VitaMix)
Food dehydrator with Teflex sheets for drying the crackers on
Bowl and spoon


Directions:

Combine onions, garlic, fresh herbs, salt, and lemon juice in blender. Puree until smooth. place in bowl.

Add 2 cups of soaked flax seeds and 1 1/2 cups water to blender. Puree until smooth. Pour into bowl with herb mixture.

Repeat with 2 more cups of soaked flax seeds.

Pour remaining whole soaked flax seeds into bowl with herb mixture and sir well to combine flavors.

Spread 2 cups of batter 3/8-inch thick on approx 8 Teflex Food dehydrator sheets.

Dry in a food dehydrator at 110 degrees for 8 hours. Flip onto screen.

Dry 12 more hours until crisp. Break into large cracker-sized pieces.

Store crackers in a pantry away from sunlight, in air-tight bags or bins. Fills an 8-quart size Zip-lock bag.

These crackers keep and store well.


Tips: 

The idea is to add just enough water to the soaked flax seeds in the blender to make a rough puree. This makes for crisper, thinner chips instead of just chewing on flax seeds stuck together. Use enough water to make it blendable in your blender.

Do not add an excess of water to soak the flax seeds - add just enough to make the mass like a thick batter. Then you can add water if needed during the pureeing process in your VitaMix blender. it's not like when we soak nuts in lots of water.

My mom always adds a bit of Vitamin C powder to her chips. It keeps her chips fresher tasting for longer, plus it keeps the colors lighter and brighter. Start with adding from 1/4 to 1/2 t. Vitamin C.


Note: Do not add more than the 2 t. sea salt asked for in this recipe. All dehydrated chips and crackers taste saltier once dried, because they are condensed, concentrating the salt.


Recipe created by the Kitchen Cheetahs, Nancy Glazier & Irene Hauver.


Enjoy!

Author, Leila Wood.

Tuesday, November 3, 2015

Easy Southwest bean Dip Recipe

Southwest Sour Cream Bean Dip

Easy to put together and very tasty. Serve it cold with corn tortilla chips or raw vegetables for dipping.

You can also include this as a spread in wraps, or use as an ingredient in your favorite 7-Layer Bean Dip recipe.


SOUR CREAM BEAN DIP Recipe:

1 c. re-fried beans
1/2 c. sour cream
1 t. paprika
1/4 t. ground cumin
1 garlic clove, crushed
onion salt, to taste
Tabasco sauce, to taste


Method:

Mix everything together well.
Chill to allow flavors to blend.
Serve with homemade corn tortilla chips.


Enjoy,

Leila


Monday, November 2, 2015

Healthy Mini Cheese Balls (Gluten Free, Nut Free & Sugar Free)

NUT-FREE MINI CHEESE BALLS

A super snack, a little goes a long way into satiety. You can vary the combinations of coatings and cheeses, to suit your taste. These work great for a low-carb, high protein mini-meal on the go. Kids like them too. They curb the munchies nicely.


NUT-FREE MINI CHEESE BALLS Recipe:

creamy cheese of choice (ie, cream cheese, neufchatel, chevre goat cheese,  thick seed cheese, etc.)

Toasted, salted pumpkin seeds or sunflower seeds (homemade with BIOSALT is best)


Method: 

Form small balls and roll to coat thickly in seasoned seeds of choice.
Place into an air-tight container and chill.


Notes: If the cheese is too firm, soften at room temperature. If the cheese is too soft, chill until workable. You may use pecans or walnuts instead if you choose.

The recipe for BioSalt is on this blog.


Enjoy,

Leila & Nancy

Sunday, November 1, 2015

Best Moist Banana Bread - with variations


We love a good banana bread at our house. We like it really moist, with some chunks of sweet banana marbled throughout the bread. Sometimes we add nuts and/or chocolate chips. Sometimes we add spices. Sometimes we top it with streusel... Our favorite way to eat it, is sliced the next day, slathered in salted butter. Oh yeah.

This is a great recipe. It is a culmination of years worth of refining and perfecting. This has more banana than most other recipes, but we like that.

This bread freezes well and also makes great neighbor gifts. Of course it's a great way to use up those dead-ripe bananas hanging around your kitchen!


Best Banana Bread Recipe:

1 c. organic whole wheat flour
1 c. organic all-purpose flour
1 c. organic evaporated cane juice, brown sugar, white sugar, or organic coconut palm sugar
1/2 t. sea salt or BioSalt
1 t. baking soda
1 t. ground allspice, optional
1/2 t. ground nutmeg, optional
2 large organic eggs
1 t. real vanilla extract
1/2 c. buttermilk, almond milk, or coconut milk that has 1/2 T. lemon juice added
1/2 cup organic butter, or deodorized coconut oil, melted (or rice bran oil)
3 large very ripe bananas
1 c. chopped walnuts or pecans, optional
1 c. semi-sweet chocolate chips, optional
Additional brown sugar and chopped nuts, optional


Method:

Whisk together the whole wheat and white flour, sugar, salt, baking soda, and spices in a large bowl.

Make a well in the center of the dry ingredients in the bowl.

In a separate bowl, whisk together the eggs, vanilla, and buttermilk.

Pour the liquid ingredients into the well and mix slightly by hand.

Add oil and mix in a bit.

In a small bowl, peel and mash the bananas with a pastry blender to make a chunky puree.

Add the mashed bananas to the batter last, along with the nuts and/or chocolate chips, if using.

Mix together gently by hand, being careful not to over-mix.

Spoon batter into 2 oiled 8x4-inch loaf pans.

Sprinkle tops with additional brown sugar and chopped nuts, if desired.

Bake in a preheated 350 degree F oven, for 45 to 55 minutes, until bread springs back when touched (or a toothpick inserted in the center comes out clean). It is better to under-bake than over-bake this bread.


Notes: 

You may cut the sugar down to 3/4 c. if you desire a less sweet bread.

If you don't like chunks of banana in your bread, puree the banana.


Enjoy, 

Leila


Copy Cat Tiger's Milk Bars in 2 flavors - Part 3 - How I refine my formulas

Peanut Butter & Jelly Tiger's Milk Bars!

Tiger Test Batch No. 2 is in the house!

I'm impatiently waiting for the chocolate coating to set up on this newest batch of Tiger's Milk protein bars. I made a few subtle changes to formula No. 1, we will soon see how it went.

See Tiger's Milk bar formula No. 1 HERE.

See my first post about Tiger's Milk bars HERE.

I divided this batch in half and this time I made a total of 4 bars, instead of only 2 bars, like last time:

The first half I rolled out and shaped into 2 bars.

The 2nd half I added 1/2 tsp. strawberry preserves to. I folded it up and kneaded it in until it smoothed out and became uniform. I then rolled it into a log, cut it in half, making 2 bars out of it. I am duplicating the discontinued Peanut Butter & Jelly flavored Tiger's Milk bar (which was my childhood favorite).

I noticed that the bars with the added jelly were softer and shinier when finished. They may be the softer texture I am looking for...

In my last post, I mentioned that I wanted these bars to be a bit sweeter and slightly less chewy, plus they needed a touch more salt and flavorings. We'll see if that was accomplished this time.

As I mentioned before, I will healthify this formula later, although there is no high fructose corn syrup in these so they are still an improvement over the commercial Tiger's Milk bars.

If you want to try these along with me but you do not have the flavorings... No worry, just use vanilla extract and If you have some replace some of the nonfat milk powder for malted milk powder, or do without the malt flavoring.

This is what I did this time (see recipe below). Notice I increased the corn syrup, brown sugar, peanut butter, soy isolate, and flavorings. I also added a touch of salt and stevia glycerite.


Copy Cat Tiger's Milk Bars (High Protein Flavor):

54 grams corn syrup (Karo)
8 grams brown sugar
26 grams natural peanut butter, salted (Adam's) (I used chunky this time)
20 grams plain soy protein isolate
16 grams nonfat dry milk powder (not instant)
1 gram calcium caseinate powder (Now brand)
3 grams Hi-Maize resistant starch (Honeyville Grain)
1 t. vanilla flavor powder
1/4 t. malt flavor powder
1/4 t. dairy-type flavor powder
1/16 t. sea salt
8 drops stevia glycerite (Now brand)


Method:

Heat the corn syrup, brown sugar, and peanut butter in a small non-stick pan over medium heat, stirring until fully dissolved and starting to bubble.

Take off heat and add the pre-mixed powdered ingredients. Stir in quickly, It will look crumbly at first, stir and mash it with the back of a hard silicone spatula until it comes together smoothly.

Turn out onto a silicone mat or a parchment paper-lined baking sheet. Knead with your hands (don't burn yourself) until uniform and starting to stiffen.

Roll into a thick rope, the length of how ever many bars you want to make (from 2 to 4 bars). Cut into bar-length segments. Flatten and shape into bars. Let cool a bit before dipping in carob coating (or chocolate).

Melt your carob coating in a shallow flat microwave-safe container. Microwave in 30 second intervals, stirring after each, until melted and smooth.

Immerse the bars into the melted carob coating and remove the bars with tined forks, tamping and letting the excess chocolate drain off. Place the bars back on the silicone mat or parchment paper. Chill until set, about 20-30 minutes.

Let bars come back to room temperature before biting into. Store in an air-tight container at room temperature.

This batch size makes a total of 4 Tiger's Milk-sized bars.

Copy Cat Tiger's Milk Bars (Peanut Butter & Jelly Flavor):

To half of the batch of kneaded protein bar dough, I added:

1/2 t. strawberry preserves

Flatten out the dough into a square and spread the preserves onto the surface of the dough. Fold the dough in on itself and knead, while continuing to fold in on itself, until it is smooth, uniform and shiny. Form into 2 bars. Dip in carob coating as above.

Results:

High Protein Flavor:

Great peanut butter taste. They are sweeter. They maybe could still be a touch sweeter though. They are too chewy and hard, even a touch harder that test batch No. 1. The level of salt is perfect now. The flavor seems richer, but none of the flavorings stand out, other than peanut butter, which is good.

I need to heat it even less time, but I think the real solution is to increase my corn syrup, so they are less dry, and easier to work with. Still, I like this bar better than test batch No. 1.

Peanut Butter & Jelly Flavor:

The texture was lovely, even perfect. They have great flavor, but you can't really pick out the taste of the jam (I couldn't really pick out the flavor of the jam in the original Peanut Butter & Jelly flavored Tiger's Milk bars either though), still, more jelly taste shining through would be tasty. I may even add jam to the melting syrup next time, instead of kneading it in. The level of salt was perfect here too. I still think a touch sweeter would be nice.

So there is my review. We are definitely working in the right direction! Happy day!


Photos of the protein bar making process:


The wet ingredients are in the pan and the dry ingredients weighed out in a bowl.

Heat over medium with stirring until dissolved and starting to bubble.

Turn off the heat and quickly stir in all the dry ingredients.

It will look crumbly at first. Keep stirring.

The dough will quickly come together.

The dough is ready for kneading.

Knead while it is still pretty hot (don't burn yourself).

I divided the dough in half so that I could do a peanut butter & jelly flavor experiment.

These strawberry preserves will do for now.

I spread out the preserves and started to roll loosely up onto itself.

The preserves want to escape! No matter, I just keep folding it in on itself.

Is it going to work???

Yup, it worked. The jelly flavored roll is at the bottom.

Divide into 4 pieces.

Flatten and shape into bars.

After cars have cooled to room temperature, dip in carob coating.

Tamp off the extra chocolate and gently set down.

4 little beauties ready for the fridge. Cool until set, about 30 minutes.
Just out of the fridge. Let come back up to room temperature a bit before eating.

I couldn't wait for the chocolate to completely harden, so these look a bit messy. the PB&J flavor is on the right.

The plain flavor was delicious but very chewy. The PB&J flavor had the perfect texture!

Well, lets see what formulating round 3 yields! Who's gonna eat all these protein bar experiments???

Enjoy!

Leila.

Copy Cat Tiger's Milk Bars - Part 2 - How I engineer Copy-Cat Formulas

Copy-Cat Tiger's Milk Bar - TRIAL # 1.
Trial No. 1 for my Copy-Cat Tiger's Milk Bars Now completed! See my formula below.

See my first post about Tiger's Milk bars HERE. As I have researched this project, I have found that there is quite a cult following for these Tiger's Milk protein bars. They are a guilty pleasure for many. I frequently hear comments about protein bars in general, that are like, "No one eats protein bars because they want to or because they like them, they choke them down just to get a quick dose of protein and curb their appetite fast." I pretty much agree with that.

However, that is not the case for me and Tiger's Milk bars. I discipline myself when it comes to eating these though, they aren't exactly health food anymore. I will buy 4 to 6 every year or so and I hide them from my kids. With out fail they find my stash and eat them all. Do you have any idea of what that torture is like? You're sitting there, you remember your tiger bar stash. You get all pumped about the idea of eating one. You go to your stash - and it's totally wiped out! My kids got smarter and figured out that it was a good idea to leave me at least one. They do not enjoy seeing their mother act like a tiger because she was denied her Tiger's Milk bar! Seriously.

I could not find ANYTHING even remotely close to a Tiger's Milk Bar knock-off anywhere. I saw comments online that others are searching for how to make them too - all dead ends. Grrrrr (like a tiger), now I'm getting stubborn. Watch out, when that happens, I actually figure stuff out!

I did see that there was also a Tiger's Milk Nutrition Booster drink powder that people are still pining away for.  Like at this website HERE. Hmmmm...  I don't remember if I ever tried the drink mix as a child, but it was so highly praised, I'm tempted to figure out a recipe for that too! There is also a highly sought after Tiger Cookie recipe on the back of the old Tiger's Milk tin. I researched and found the original recipe for those tiger cookies. I will be posting it soon.
Tiger's Milk Drink Mix, 1963.

When I reverse-engineer foodstuffs, I go to the actual product ingredient label and nutrition facts panel. Thank you for those, then I don't have to go by just taste and texture alone.

I write down their ingredient list in order, like a recipe card (it helps to clearly see each ingredient). Then I look at the nutrition facts. How much in carbs, sugars, fats, proteins, etc... I look at which of the ingredients on the list fit into each category (like soy protein isolate fits into the protein category). I look up any "mystery " ingredients and what section they fit into on the nutrition facts panel.

I most definitely look at what is in the commercial product ingredient list that I DON'T want in my formula (a lot of the "mystery" ingredients, sugar, starch, etc.).

Here, I must point out a pet peeve of mine: It bugs me when people automatically assume that any ingredient that is lengthy in spelling, or is unfamiliar to them, is deemed automatically as bad. It's just not the case. I hate it even more when these same misinformed people negatively blast the ingredient online. My point is, please educate yourself. Check your sources (do any of them have an "agenda"?). It does take a little time but it is so worth it.

I do research on the foods that are like my chosen project,  if there are any. I think of what I know from past formulating and cooking experience. I ponder  and brainstorm for a while... Then I "wing it" and start writing guesstimate proportions.

When it comes time to make my trial formula, I get out my ingredients and line them up in the order I will use them. I have my notes handy along with a good scale. I measure and weigh everything, writing it down immediately. I document the processes used as well. Then I write down my results and include details like taste, sweetness level, texture, moisture, after-tastes, etc... I then write down what I would like to change and my ideas for doing that. REPEAT...

I decided to mimic the ingredient list of Tiger's Milk bars closely, so I'm using corn syrup for the first runs. I'll healthify it later! I did decide to omit the dextrose and rice flour. Who has dextrose in their pantry anyway? And rice flour is gritty. I used resistant starch (like Hi-Maize) instead of the dextrose and rice flour, this time.

I am posting my first trial recipe for Tiger's Milk bars. I usually do not post the first versions, but you may find it interesting if I do this time.


The results for my first trial batch: 

Overall result: A fantastic first try. It is really close to a Tiger's Milk bar! I'm so happy right now.

Chewy, like a Tiger's Milk bar. A bit too chewy, so I need to heat the syrup ingredients for less time.

Sweetness level - Not sweet enough because I did not use high fructose corn syrup. Maybe I will up the level of syrup used too. I'm not going to use high fructose corn syrup. I could increase the brown sugar a little, as it has great flavor. Down the road, I will add some intense sweetener like stevioside mixed with lo han (monk fruit) extract.

Peanut butter taste - It maybe needs a bit more. I'd like to get some defatted organic peanut butter powder, that will do the trick. I'll reduce some of the other powders (like the Hi-Maize).

Flavoring - I want to increase the malt and vanilla flavoring to see if I like it better.

Smell - Right on!

Salt - Add some.

Idea - For those of you who do not have malt flavor powder, I'm thinking of substituting some of the nonfat dry milk for some malted milk powder.  that might be a secret in the original Tiger's Milk drink mix I've read about!


Copy Cat Tiger's Milk Bars (High Protein Flavor):

53 grams corn syrup (Karo)
2 grams brown sugar
20 grams natural peanut butter, salted (Adam's) (I used chunky this time)
18 grams plain soy protein isolate
16 grams nonfat dry milk powder (not instant)
1 gram calcium caseinate powder (Now brand)
3 grams Hi-Maize resistant starch (Honeyville Grain)
1/2 t. vanilla flavor powder
1/8 t. malt flavor powder
1/8 t. dairy-type flavor powder


Method:

Heat the corn syrup, brown sugar, and peanut butter in a small non-stick pan over medium heat, stirring until fully dissolved and starting to bubble.

Take off heat and add the pre-mixed powdered ingredients. Stir in quickly, returning to heat for about a minute to keep the syrup hot. It will look crumbly, stir and mash it with the back of a hard silicone spatula.

Remove from heat and turn out onto a silicone mat or a parchment paper-lined baking sheet. Knead with your hands (don't burn yourself) until uniform and starting to stiffen.

Roll into a thick rope, the length of how ever many bars you want to make (from 2 to 4 bars). Cut into bar-length segments. Flatten and shape into bars. Let cool a bit before dipping in carob coating (or chocolate).

Melt your carob coating in a shallow flat microwave-safe container. Microwave in 30 second intervals, stirring after each, until melted and smooth.

Immerse the bars into the melted carob coating and remove the bars with tined forks, tamping and letting the excess chocolate drain off. Place the bars back on the silicone mat or parchment paper. Chill until set, about 20-30 minutes.

Let come back to room temperature before biting into. Store in an air-tight container at room temperature.

This batch size makes 4 Tiger's Milk-sized bars. I only made 2 bars however.


Photos of the protein bar making process:


The protein bar mixture is transferred from the pan to a non-stick surface.

Knead with your palms, like you would for bread.

The texture after kneading, close-up.

The texture when broken apart.

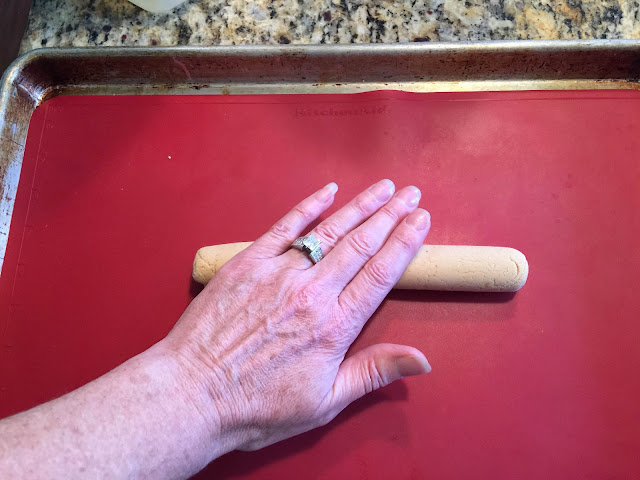
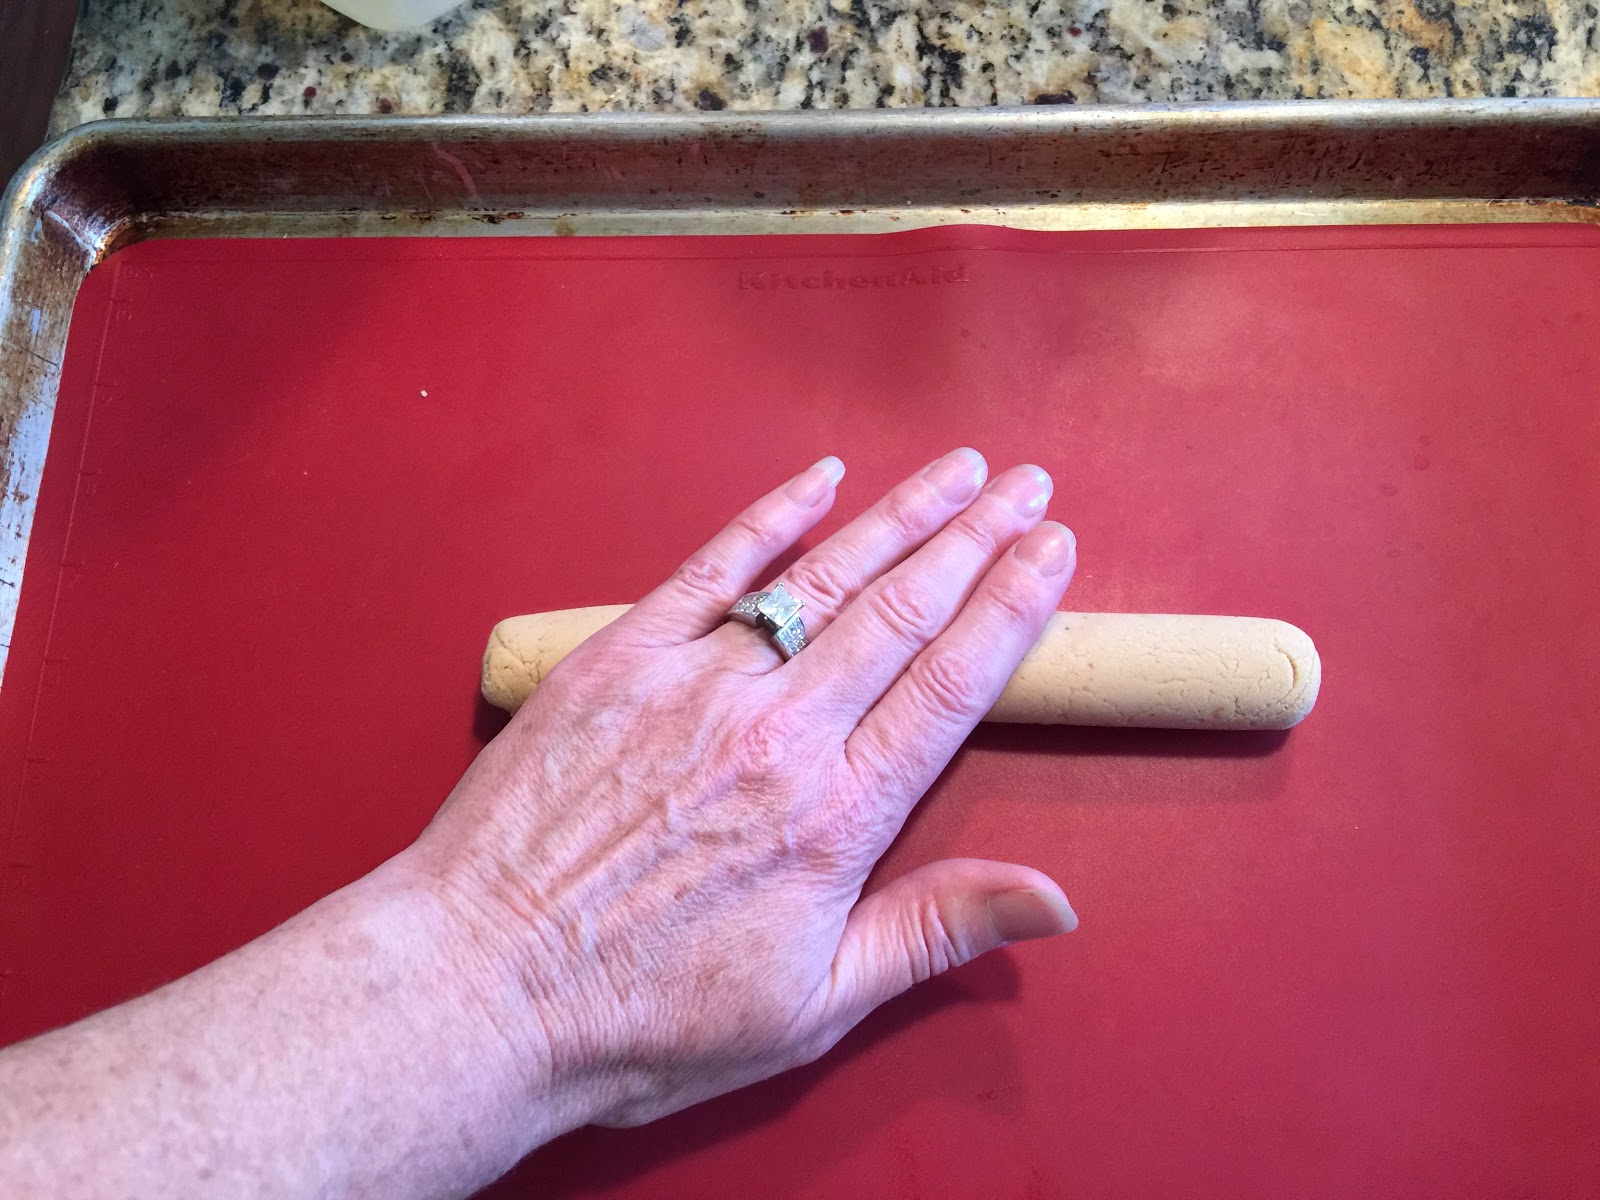
Roll into a smooth log while it is still warm.

Rolled out for 2 large bars.

Cut into bar-sized portions.

Gently flatten and shape into bars.

the finished shaped bars.

The beautiful texture shows at the ends of the bars!

Prepping to dip in carob or chocolate coating.

Place 1 bar into the coating at a time.

completely cover with coating.

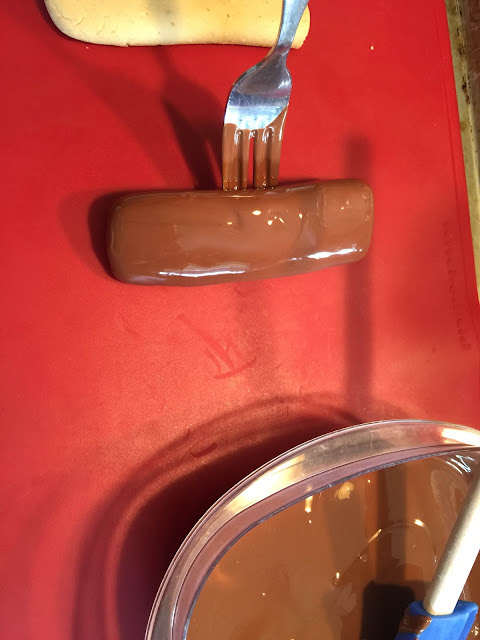
Lift bar out with tined fork(s).

Let the excess coating drip off.

Gently place on a lined baking sheet.

Pretty little thing...

Both bars are dipped.

Place the freshly dipped bars in the fridge until completely set up, about 30 minutes.

Here are the finished bars!

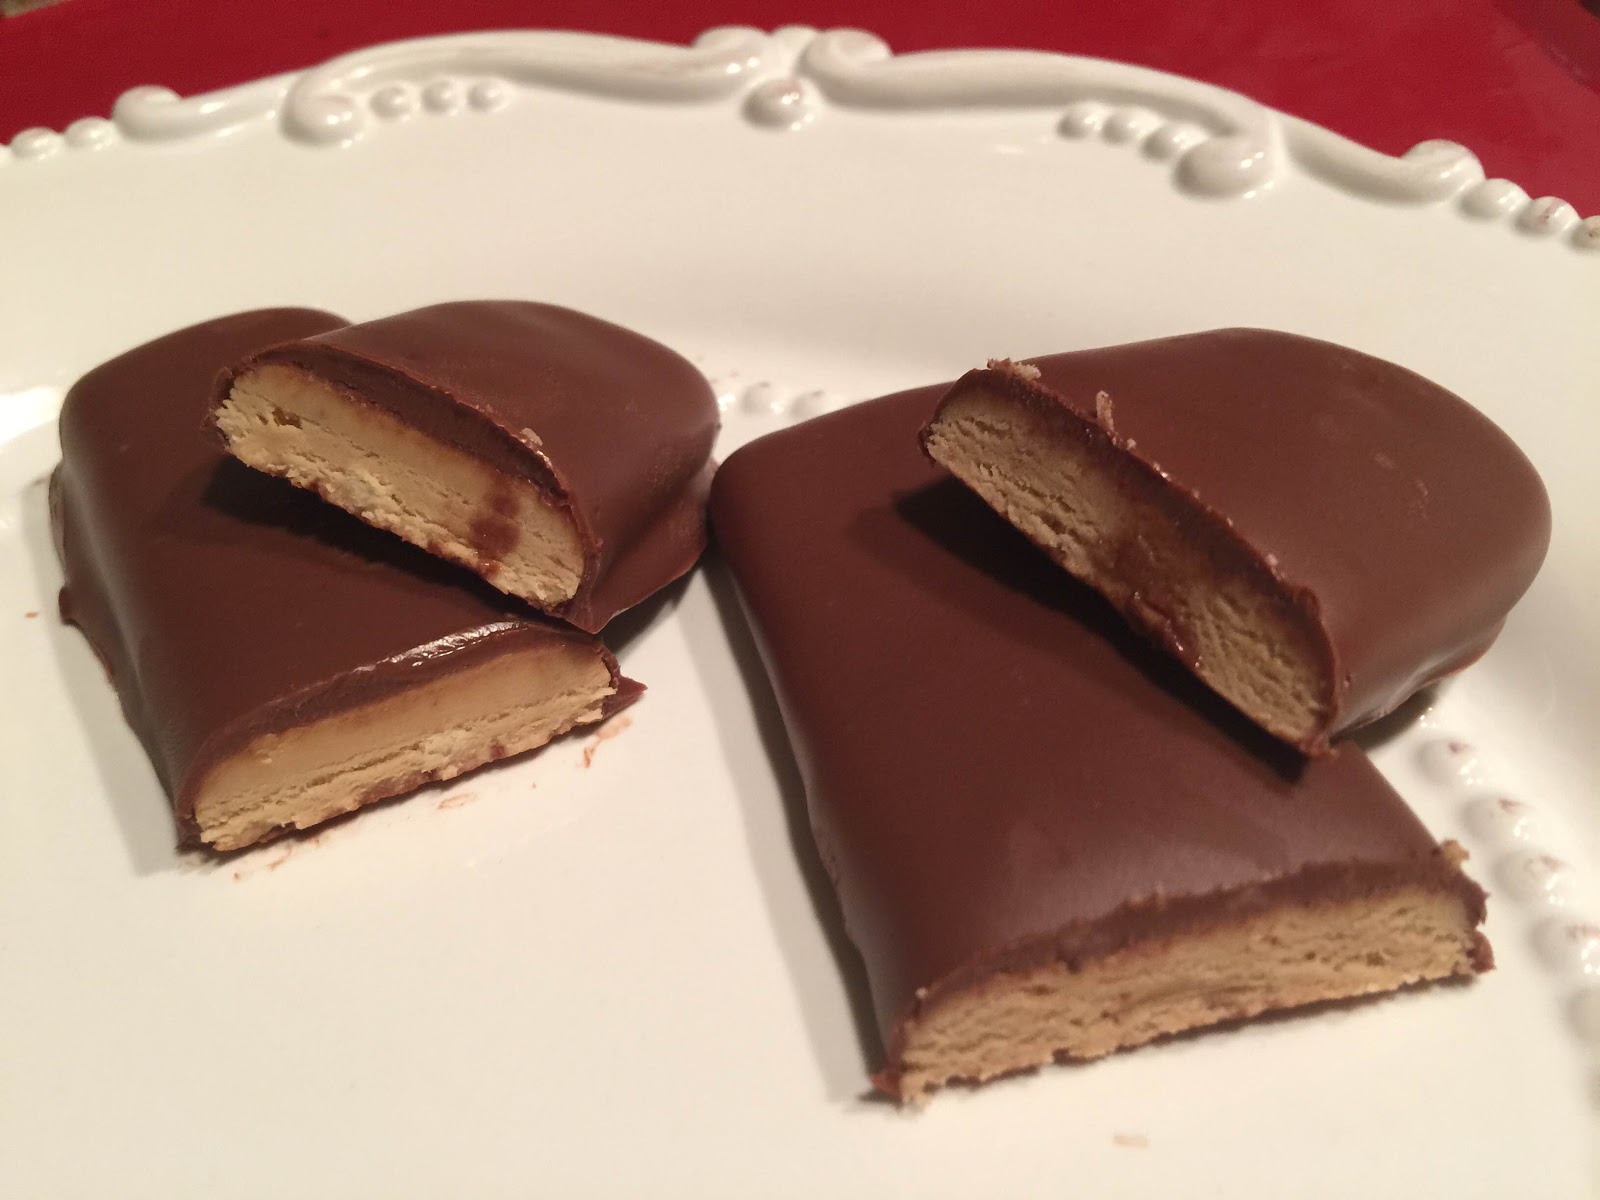
Cutting open to see the texture.

This batch size will make 2 large bars or 4  smaller bars.

So there you go! This is definitely good enough to try it for yourself. I'm very happy with how they turned out and look forward to making more. I'll keep you posted.


Have fun!

Leila (Kitchen Tigress).