 |
| Copy-Cat Tiger's Milk Bar - TRIAL # 1. |
Trial No. 1 for my Copy-Cat Tiger's Milk Bars Now completed! See my formula below.
See my first post about Tiger's Milk bars HERE. As I have researched this project, I have found that there is quite a cult following for these Tiger's Milk protein bars. They are a guilty pleasure for many. I frequently hear comments about protein bars in general, that are like, "No one eats protein bars because they want to or because they like them, they choke them down just to get a quick dose of protein and curb their appetite fast." I pretty much agree with that.
However, that is not the case for me and Tiger's Milk bars. I discipline myself when it comes to eating these though, they aren't exactly health food anymore. I will buy 4 to 6 every year or so and I hide them from my kids. With out fail they find my stash and eat them all. Do you have any idea of what that torture is like? You're sitting there, you remember your tiger bar stash. You get all pumped about the idea of eating one. You go to your stash - and it's totally wiped out! My kids got smarter and figured out that it was a good idea to leave me at least one. They do not enjoy seeing their mother act like a tiger because she was denied her Tiger's Milk bar! Seriously.
I could not find ANYTHING even remotely close to a Tiger's Milk Bar knock-off anywhere. I saw comments online that others are searching for how to make them too - all dead ends. Grrrrr (like a tiger), now I'm getting stubborn. Watch out, when that happens, I actually figure stuff out!
I did see that there was also a Tiger's Milk Nutrition Booster drink powder that people are still pining away for. Like at this website HERE. Hmmmm... I don't remember if I ever tried the drink mix as a child, but it was so highly praised, I'm tempted to figure out a recipe for that too! There is also a highly sought after Tiger Cookie recipe on the back of the old Tiger's Milk tin. I researched and found the original recipe for those tiger cookies. I will be posting it soon.
 |
| Tiger's Milk Drink Mix, 1963. |
When I reverse-engineer foodstuffs, I go to the actual product ingredient label and nutrition facts panel. Thank you for those, then I don't have to go by just taste and texture alone.
I write down their ingredient list in order, like a recipe card (it helps to clearly see each ingredient). Then I look at the nutrition facts. How much in carbs, sugars, fats, proteins, etc... I look at which of the ingredients on the list fit into each category (like soy protein isolate fits into the protein category). I look up any "mystery " ingredients and what section they fit into on the nutrition facts panel.
I most definitely look at what is in the commercial product ingredient list that I DON'T want in my formula (a lot of the "mystery" ingredients, sugar, starch, etc.).
Here, I must point out a pet peeve of mine: It bugs me when people automatically assume that any ingredient that is lengthy in spelling, or is unfamiliar to them, is deemed automatically as bad. It's just not the case. I hate it even more when these same misinformed people negatively blast the ingredient online. My point is, please educate yourself. Check your sources (do any of them have an "agenda"?). It does take a little time but it is so worth it.
I do research on the foods that are like my chosen project, if there are any. I think of what I know from past formulating and cooking experience. I ponder and brainstorm for a while... Then I "wing it" and start writing guesstimate proportions.
When it comes time to make my trial formula, I get out my ingredients and line them up in the order I will use them. I have my notes handy along with a good scale. I measure and weigh everything, writing it down immediately. I document the processes used as well. Then I write down my results and include details like taste, sweetness level, texture, moisture, after-tastes, etc... I then write down what I would like to change and my ideas for doing that. REPEAT...
I decided to mimic the ingredient list of Tiger's Milk bars closely, so I'm using corn syrup for the first runs. I'll healthify it later! I did decide to omit the dextrose and rice flour. Who has dextrose in their pantry anyway? And rice flour is gritty. I used resistant starch (like Hi-Maize) instead of the dextrose and rice flour, this time.
I am posting my first trial recipe for Tiger's Milk bars. I usually do not post the first versions, but you may find it interesting if I do this time.
The results for my first trial batch:
Overall result: A fantastic first try. It is really close to a Tiger's Milk bar! I'm so happy right now.
Chewy, like a Tiger's Milk bar. A bit too chewy, so I need to heat the syrup ingredients for less time.
 Sweetness level - Not sweet enough because I did not use high fructose corn syrup. Maybe I will up the level of syrup used too. I'm not going to use high fructose corn syrup. I could increase the brown sugar a little, as it has great flavor. Down the road, I will add some intense sweetener like stevioside mixed with lo han (monk fruit) extract.
Peanut butter taste - It maybe needs a bit more. I'd like to get some defatted organic peanut butter powder, that will do the trick. I'll reduce some of the other powders (like the Hi-Maize).
Flavoring - I want to increase the malt and vanilla flavoring to see if I like it better.
Smell - Right on!
Salt - Add some.
Idea - For those of you who do not have malt flavor powder, I'm thinking of substituting some of the nonfat dry milk for some malted milk powder. that might be a secret in the original Tiger's Milk drink mix I've read about!
Copy Cat Tiger's Milk Bars (High Protein Flavor):
53 grams corn syrup (Karo)
2 grams brown sugar
20 grams natural peanut butter, salted (Adam's) (I used chunky this time)
18 grams plain soy protein isolate
16 grams nonfat dry milk powder (not instant)
1 gram calcium caseinate powder (Now brand)
3 grams Hi-Maize resistant starch (Honeyville Grain)
1/2 t. vanilla flavor powder
1/8 t. malt flavor powder
1/8 t. dairy-type flavor powder
Method:
Heat the corn syrup, brown sugar, and peanut butter in a small non-stick pan over medium heat, stirring until fully dissolved and starting to bubble.
Take off heat and add the pre-mixed powdered ingredients. Stir in quickly, returning to heat for about a minute to keep the syrup hot. It will look crumbly, stir and mash it with the back of a hard silicone spatula.
Remove from heat and turn out onto a silicone mat or a parchment paper-lined baking sheet. Knead with your hands (don't burn yourself) until uniform and starting to stiffen.
Roll into a thick rope, the length of how ever many bars you want to make (from 2 to 4 bars). Cut into bar-length segments. Flatten and shape into bars. Let cool a bit before dipping in carob coating (or chocolate).
Melt your carob coating in a shallow flat microwave-safe container. Microwave in 30 second intervals, stirring after each, until melted and smooth.
Immerse the bars into the melted carob coating and remove the bars with tined forks, tamping and letting the excess chocolate drain off. Place the bars back on the silicone mat or parchment paper. Chill until set, about 20-30 minutes.
Let come back to room temperature before biting into. Store in an air-tight container at room temperature.
This batch size makes 4 Tiger's Milk-sized bars. I only made 2 bars however.
Photos of the protein bar making process:
 |
| The protein bar mixture is transferred from the pan to a non-stick surface. |
 |
| Knead with your palms, like you would for bread. |
 |
| The texture after kneading, close-up. |
 |
| The texture when broken apart. |
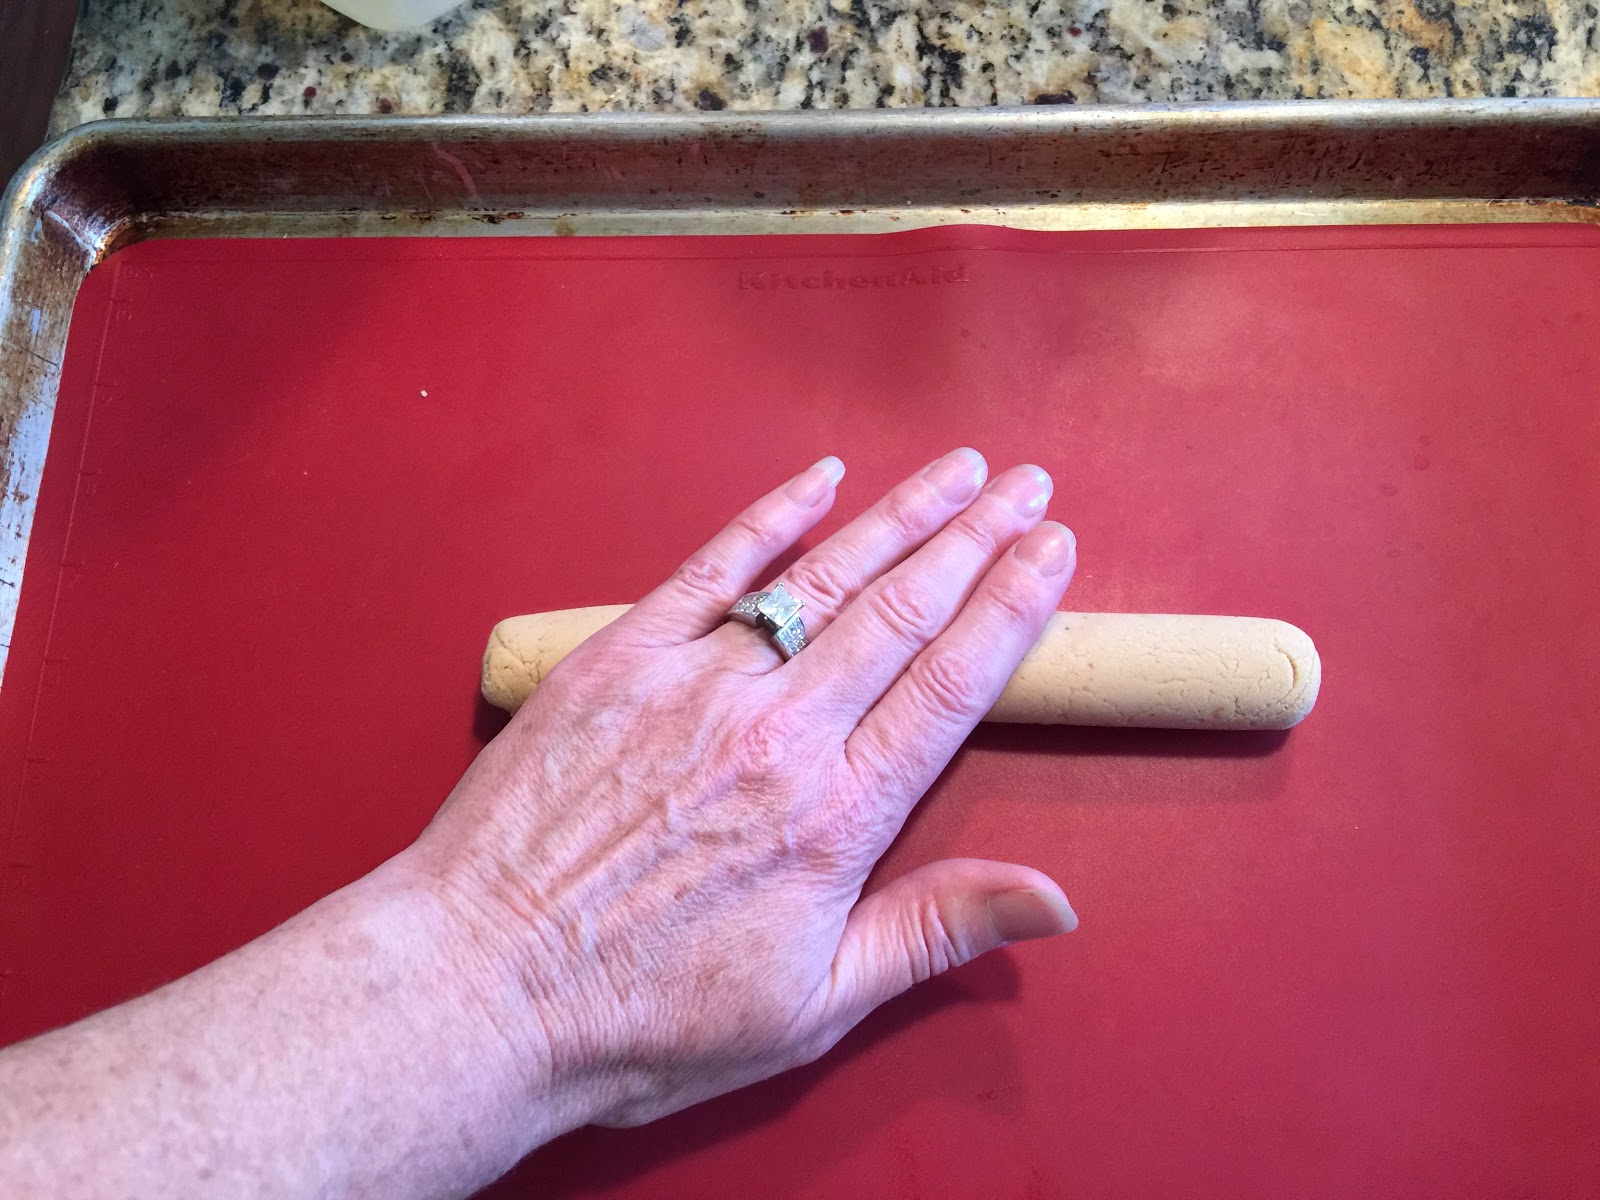 |
| Roll into a smooth log while it is still warm. |
 |
| Rolled out for 2 large bars. |
 |
| Cut into bar-sized portions. |
 |
| Gently flatten and shape into bars. |
 |
| the finished shaped bars. |
 |
| The beautiful texture shows at the ends of the bars! |
 |
| Prepping to dip in carob or chocolate coating. |
 |
| Place 1 bar into the coating at a time. |
 |
| completely cover with coating. |
 |
| Lift bar out with tined fork(s). |
 |
| Let the excess coating drip off. |
 |
| Gently place on a lined baking sheet. |
 |
| Pretty little thing... |
 |
| Both bars are dipped. |
 |
| Place the freshly dipped bars in the fridge until completely set up, about 30 minutes. |
 |
| Here are the finished bars! |
 |
| Cutting open to see the texture. |
 |
| This batch size will make 2 large bars or 4 smaller bars. |
So there you go! This is definitely good enough to try it for yourself. I'm very happy with how they turned out and look forward to making more. I'll keep you posted.
Have fun!
Leila (Kitchen Tigress).
I LOVE Tigers milk bars. My mom also use to take us to the health food store and it was either a tigers milk bar or halvah treat. Yum! Good job!
ReplyDeleteI loved halva too! I’ve had to dig real deep to find out anything about how it’s made... and I have ideas to try. I also adored these honey candy things... they were like honey filled hard candies in a sleeve that had a blue and yellow honeycomb logo on it. I haven’t seen them in years.
ReplyDeleteFor the 3 ingredients at the end, which ones are tablespoons, and which ones are teaspoons?
ReplyDeleteThe convention is: Lowercase "t." is a teaspoon, upper case "T." is a tablespoon.
DeleteI know it's been a while, but do you remember the ingredients for the carob coating?
ReplyDeleteI am SO glad I found this... I LIVED on these at Uni. Experimentation (I'm working on a lower cal version) to commence!
ReplyDeleteJust finding this now because I only recently discovered Tiger’s Milk Bars have been discontinued (very sad face). I really like the original protein flavor. If I just leave out the peanut butter, will I get that flavor?
ReplyDelete